

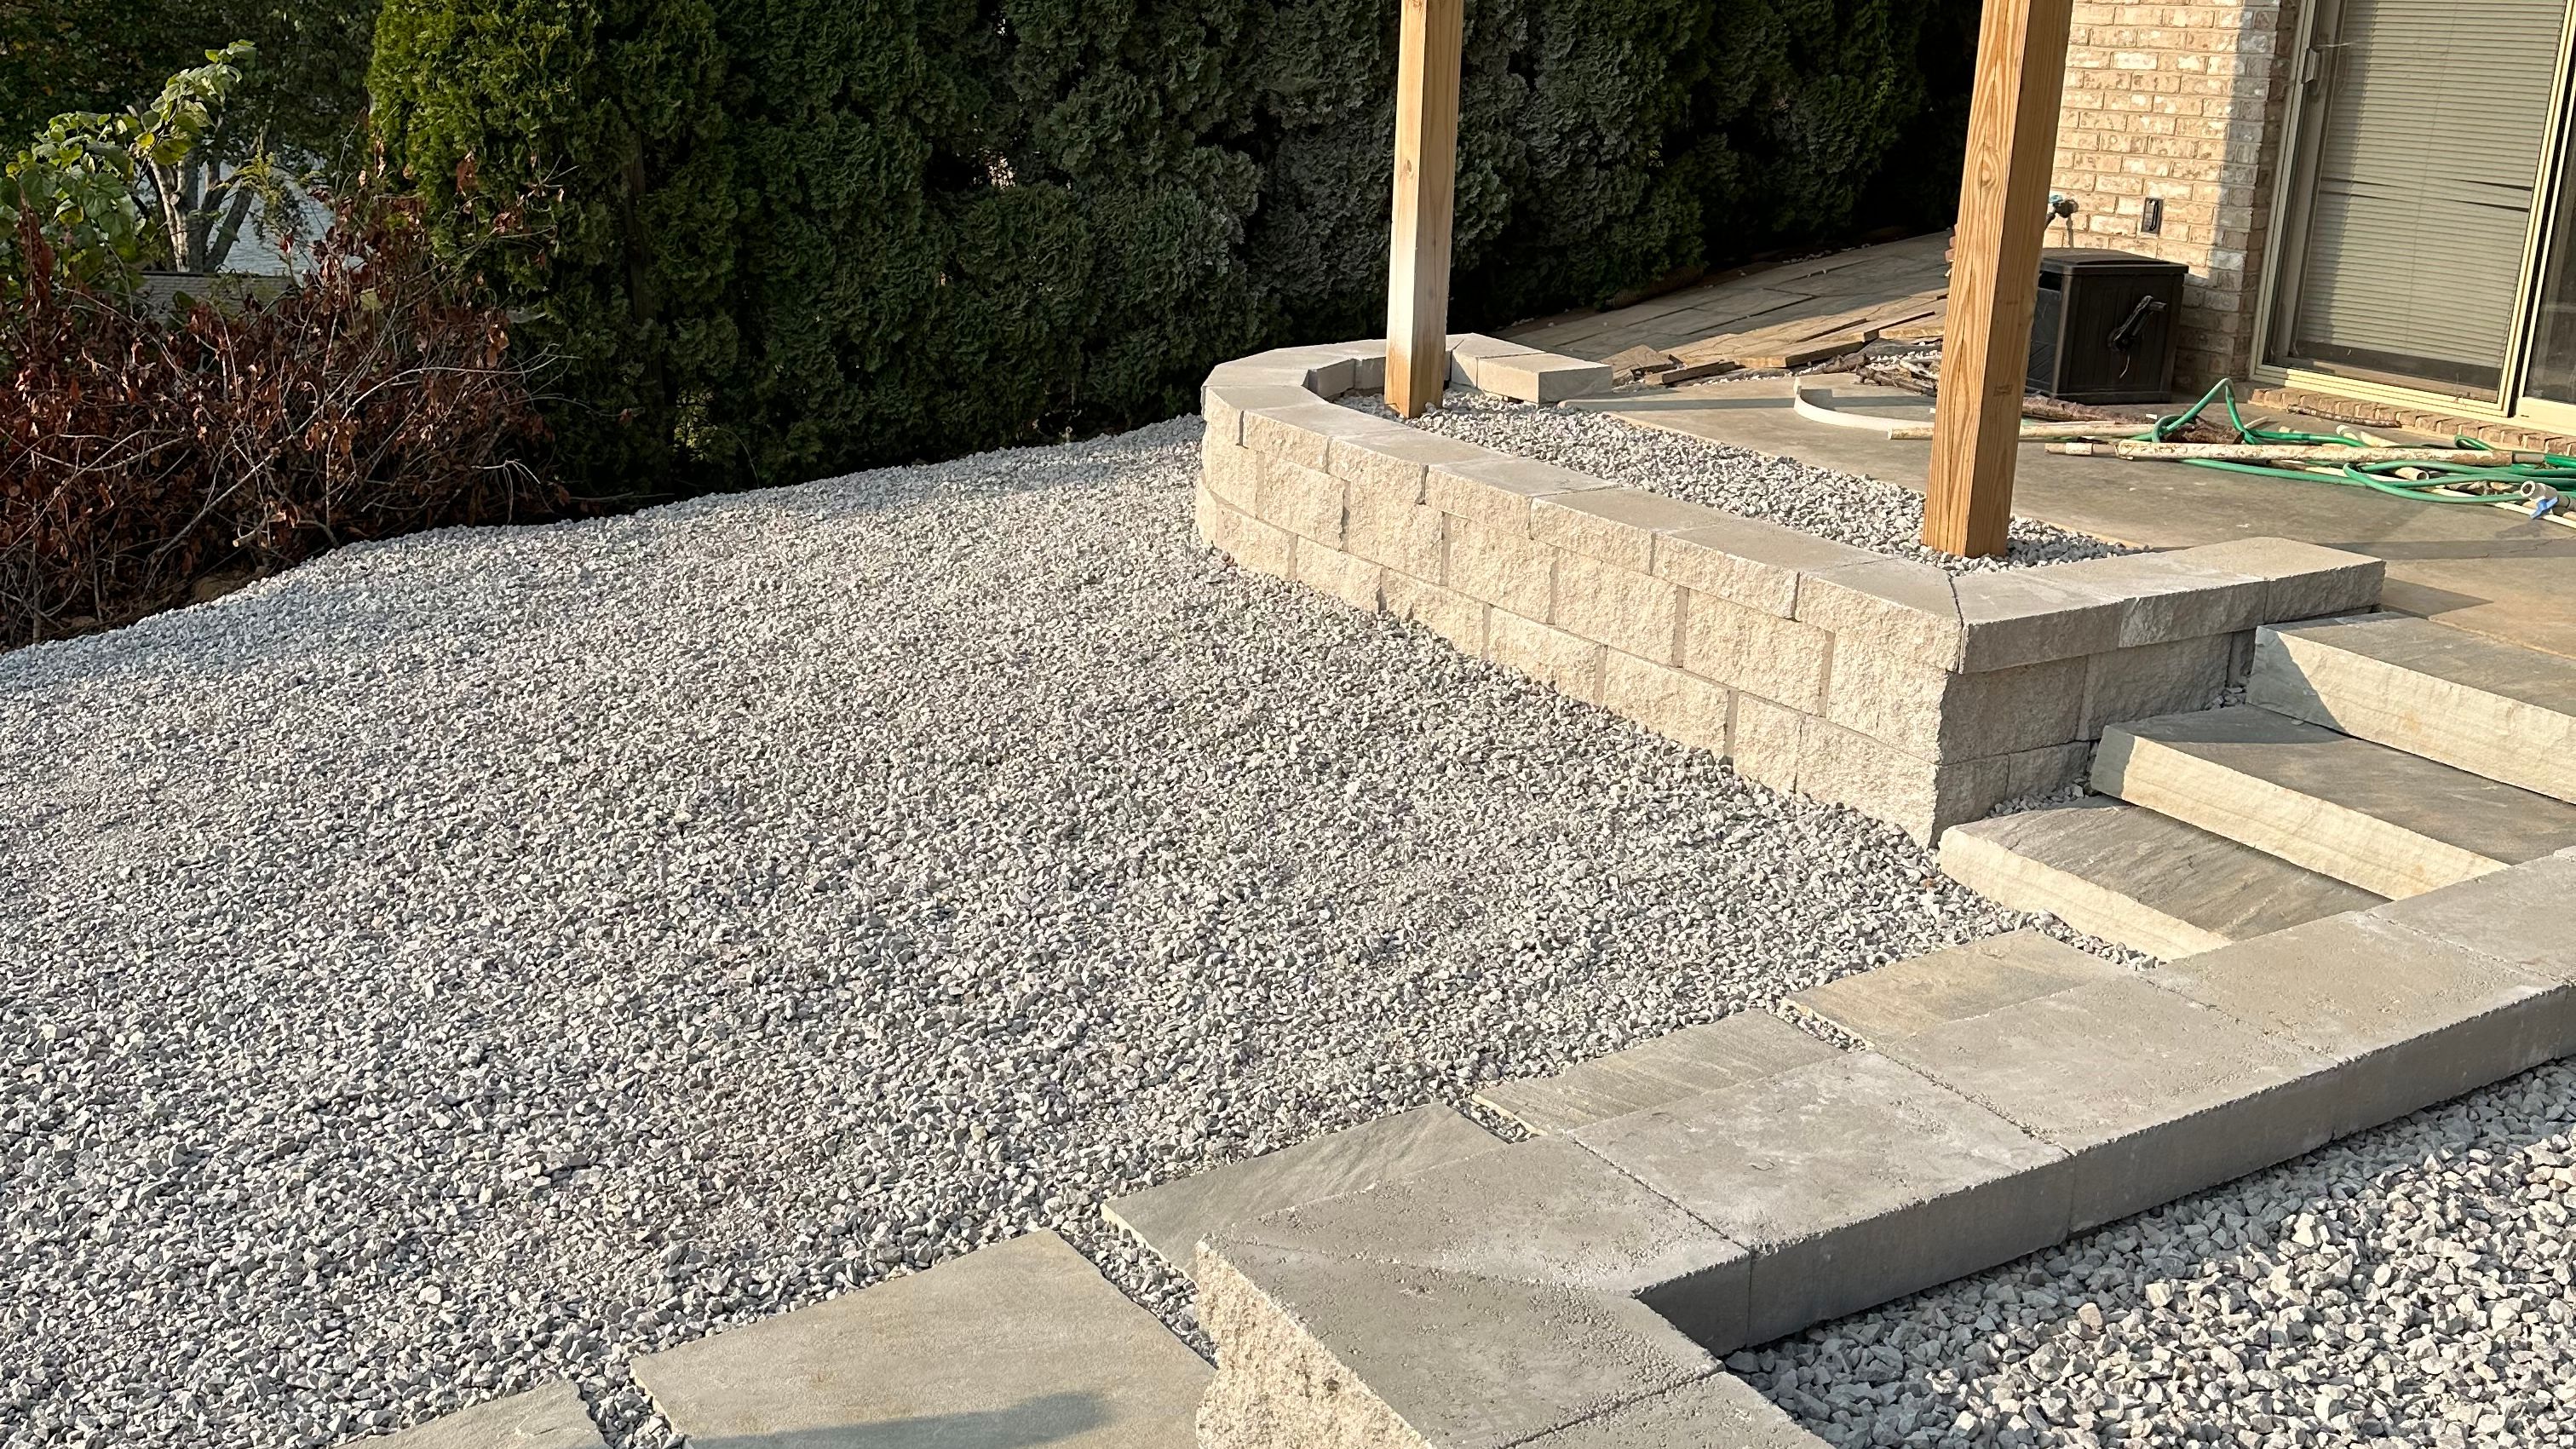
Retaining wall drainage is the detail that quietly determines whether a wall stays straight for decades or starts bulging after the first few heavy East Tennessee storms. We have seen it again and again around Kingston and across Roane County: the wall itself is built with decent block or stone, but the drainage behind it is skipped, undersized, or has nowhere to discharge. Water builds pressure, clay soils hold moisture, and the wall becomes the pressure relief point.
In this guide, we break down what “done right” looks like for wall drainage design, in plain language. We will cover base prep, gravel backfill for a retaining wall, perforated drain pipe behind a retaining wall, weep holes retaining wall details, and how outlets should be handled so water actually leaves the system. We will also explain common retaining wall failure causes we see in East Tennessee soils, plus the red flags that mean you should pause the DIY plan and call a pro.
If you are comparing DIY vs professional installation, our goal is simple: help you understand the parts you cannot see after the wall is finished, because those hidden details are what keep the wall safe and stable.
Why retaining wall drainage matters (and why East Tennessee makes it trickier)
Water is heavy. When it gets trapped behind a retaining wall, it creates hydrostatic pressure that pushes outward on the wall face. That pressure increases quickly during prolonged rain, when downspouts dump roof runoff near the wall, or when a slope funnels water into the backfill.
In East Tennessee, drainage is even more important because of a few local realities:
- Clay-heavy soils are common. Clay holds water and drains slowly. When it stays saturated, it adds weight and pressure behind the wall.
- Intense rain events are normal. Summer thunderstorms and multi-day rain systems can overwhelm undersized drainage.
- Freeze-thaw still happens. We do not get long winters like up north, but we do get freeze-thaw cycles. Saturated soil expands when it freezes, adding additional outward force.
- Sloped lots are everywhere. From Kingston to Knoxville, we often build walls on hillsides where water naturally wants to run toward the wall.
When homeowners ask us about retaining wall failure causes, the most common story is not “bad block.” It is “water had nowhere to go.” A wall can be built plumb and level on day one and still fail if drainage is treated as optional.
The three parts of “done right” retaining wall drainage
- Free-draining backfill (gravel) to reduce water pressure
- A collection system (perforated drain pipe) to move water away
- Relief points (outlets and sometimes weep holes) to discharge water
Think of it like a roof gutter system. Gravel is the slope of the roof that lets water move. The drain pipe is the gutter that carries it. The outlets are the downspouts that get it away from the structure.
Base prep: drainage starts under the wall
Before we even talk about weep holes or pipe, the wall needs a foundation that supports it and resists movement.
In most segmental retaining wall (SRW) installations, best practice is:
- Excavate to undisturbed soil where possible.
- Install a compacted aggregate base (often a dense-graded crushed stone) that can be leveled and compacted in lifts.
- Set the first course below grade (how much depends on wall height and site conditions).
Why this matters for drainage: if the base is soft, uneven, or built on poorly compacted fill, the wall can settle unevenly. Settlement creates low spots where water collects, which then saturates soil and increases pressure. A well-prepped base helps the wall resist both vertical load and lateral pressure.
In our area, we also watch for “hidden water” issues, like springs, seep zones, or runoff lines that only show up during heavy rain. That is part of why professional site evaluation matters, especially in Roane County where terrain and soil types can change quickly from one neighborhood to the next.
Gravel backfill for retaining wall systems: what it does and how much you need
Gravel backfill is not just “nice to have.” It is one of the most effective ways to reduce hydrostatic pressure.
What gravel backfill actually does
Gravel backfill also:
- Reduces soil expansion pressure compared to saturated clay.
- Improves compaction behind the wall when installed in lifts.
- Creates a more predictable zone for geotextile separation and drainage.
How wide should the gravel zone be?
The exact spec depends on the wall system, wall height, and engineering requirements, but in practical residential installs, we commonly see a gravel drainage zone directly behind the wall face. Many SRW manufacturers call for a defined column of clean aggregate behind the blocks.
Important details we pay attention to:
- Use clean, free-draining aggregate (not mixed with fines that clog).
- Keep it separated from native soil with filter fabric where appropriate, so clay does not migrate into the gravel over time.
- Compact in thin lifts. Even gravel zones can settle if dumped and left loose.
Perforated drain pipe behind retaining wall: placement, slope, and protection
If gravel is the drainage medium, the perforated pipe is the collection and transport system. Done correctly, it prevents water from pooling at the bottom of the wall.
Where the pipe should go
In most residential retaining walls, the drain pipe is placed:
- At or near the bottom of the gravel backfill zone
- Behind the wall, not under the front toe where it can undermine the base
- On top of the base material or just behind the first course, depending on the wall design
We typically use a rigid or corrugated perforated pipe sized for the application, then surround it with clean aggregate to keep water flowing freely to the pipe.
The slope requirement that gets overlooked
We aim for a consistent slope to daylight or to a proper discharge point. If the site does not allow gravity discharge, that is a design problem that needs to be solved before the wall is built, not after.
Preventing clogs and crushed pipe
Drainage failures are often clog failures.
To reduce risk:
- Wrap the pipe or line the trench with filter fabric where soil intrusion is likely.
- Use clean stone around the pipe, not soil or mixed fill.
- Avoid running heavy equipment directly over shallow pipe runs.
- Plan cleanouts when practical, especially on longer walls.
When homeowners call us about a wall that is “weeping mud” through joints or staining, it is often because fines have migrated into the drainage zone and the pipe is not moving water anymore.
If you want to go deeper on drainage options for yards and slopes, our post on French Drain vs. Dry Creek Bed for East TN Drainage explains where each approach makes sense. Retaining wall drains are not the same as a yard French drain, but the principles of moving water to a real outlet are exactly the same.
Weep holes retaining wall details: when they help and when they are not enough
Weep holes are openings through the wall face that allow water to exit. They can be helpful, but they are commonly misunderstood.
What weep holes do well
Weep holes:
- Provide a direct pressure relief point.
- Give you a visible indicator that water is moving.
- Can reduce staining and seepage through random joints by giving water a planned exit.
What weep holes cannot do
Weep holes are not a substitute for a properly built drainage zone and pipe. If the backfill is clay or the gravel column is clogged, weep holes may simply become little mud ports.
Also, many segmental retaining wall systems manage drainage through the block design and aggregate chimney without traditional weep holes. The “right” approach depends on the wall type, height, and site conditions.
Practical weep hole guidance
If weep holes are part of the design, we focus on:
- Spacing that matches expected water volume, not just what looks symmetrical.
- Keeping the openings clear and using gravel at the exit to reduce clogging.
- Directing discharge away from patios, sidewalks, and neighbors.
In neighborhoods around Lenoir City and Loudon, we often see walls built near driveways or tight property lines. In those cases, where the water exits is just as important as how it gets collected.
Outlets and discharge: the most ignored part of wall drainage design
Here is the blunt truth: a drain pipe with no outlet is not a drain, it is storage.
“Daylighting” the pipe correctly
The simplest outlet is daylighting, which means the pipe exits the slope at a lower elevation so water can flow out naturally.
Key details:
- The outlet must be lower than the pipe run the whole way.
- The exit should be protected from erosion, often with riprap or a small splash pad.
- The outlet should not dump water where it will cause a new problem, like saturating the base of another wall or washing out a mulch bed.
Tying into other drainage solutions
Sometimes daylight is not possible because the wall is in a flat backyard, or the property drains toward the house. In those cases, drainage design may require additional measures, such as routing water to a defined drainage path.
This is where we often coordinate retaining wall drainage with broader Landscaping plans, downspout extensions, swales, or surface grading. The wall cannot be treated as a standalone project if the site water has nowhere to go.
Avoiding code and neighbor issues
Local rules vary, and we are not your permitting authority, but in general you should avoid discharging concentrated water onto a neighboring property or into areas that create erosion. If you are in a more regulated area or a newer subdivision around Oak Ridge or Knoxville, it is worth checking HOA guidelines and local requirements before you commit to an outlet location.
Common retaining wall failure causes tied to drainage (what we see in the field)
When we evaluate a failing wall, we typically look for patterns that point to water pressure and poor drainage. These are the most common drainage-related issues we see in East Tennessee retaining walls.
1) Bulging or leaning mid-wall
2) Cracked blocks, separated joints, or shifted caps
Water-saturated soils get heavier. Add freeze-thaw expansion and you can see movement that breaks adhesive bonds or shifts cap units.
3) Staining, algae, or constant wet spots at the face
Some moisture is normal after storms, but constant wetness suggests water is trapped behind the wall and slowly bleeding out.
4) Sinkholes or washouts near the wall
If an outlet dumps water without erosion protection, it can carve out soil. If water finds a path under the base, it can undermine the wall.
5) “It was fine until the big rain” stories
This is classic. The wall survives normal weather, then a multi-inch rain event saturates the slope. Without a perforated drain pipe behind the retaining wall and a real outlet, the wall becomes the pressure relief point.
If you are budgeting for a wall and want to understand where costs come from, including drainage and access, our post on Retaining Wall Cost in Oak Ridge: Factors That Change Price breaks down the line items homeowners often overlook.
DIY vs pro: a practical checklist for “done right” drainage details
We respect DIY homeowners, and some small landscape walls are reasonable DIY projects. The key is knowing where the risk line is.
A homeowner-friendly drainage checklist
If you are planning a wall, here are the details we would want you to be able to confirm before you start:
- Water source awareness: Where will roof runoff, hillside runoff, and irrigation water go during a heavy storm?
- Base prep plan: How deep will you excavate, and what base material will you compact?
- Gravel backfill plan: What aggregate will you use, and how will you keep clay from mixing into it?
- Pipe plan: What type of perforated pipe, what slope, and how will it be protected from clogging?
- Outlet plan: Where does the water discharge, and how will you prevent erosion at the outlet?
- Compaction plan: How will you compact backfill in lifts without pushing the wall out of alignment?
If you cannot answer any one of those with confidence, that is usually a sign the project needs professional design or at least a professional consult.
When we recommend calling a pro in East Tennessee soils
In Kingston and the surrounding area, we strongly recommend professional help when:
- The wall is taller than a typical landscape border wall (height triggers higher forces and may trigger engineering requirements).
- The wall supports a driveway, parking area, or structure.
- The site has visible seepage, springs, or consistently saturated soil.
- The wall is on a steep slope where access and compaction are difficult.
- You need to route water around utilities, tight property lines, or existing hardscape.
Our Hardscaping team builds retaining walls with drainage as a core part of the system, not an add-on. We would rather spend time on the parts you will never see than have you pay twice after a preventable failure.
How we approach retaining wall drainage on real East Tennessee projects
Every site is different, but our process follows a consistent logic.
Step 1: Evaluate the water, not just the wall location
We look at:
- Slope direction and how water moves during storms
- Downspout locations and roof runoff volume
- Soil type and signs of seasonal saturation
- Existing drainage features (swales, ditches, creek beds)
We have worked on properties where the “wall problem” was actually a roof runoff problem. A single downspout dumping behind a wall can overwhelm even decent drainage.
Step 2: Build a drainage path that stays functional over time
We choose materials and details to reduce clogging and maintenance issues:
- Clean aggregate with separation where needed
- Pipe layout with consistent fall
- Outlets that will not get buried by mulch, leaves, or sediment
Step 3: Coordinate drainage with long-term maintenance
Drainage is not only about installation, it is also about keeping the system clear.
If you have a wall in a heavily landscaped area, seasonal debris can cover outlets. If you have irrigation, overwatering can keep the backfill saturated. That is why we often discuss wall-adjacent upkeep as part of Property Maintenance, especially for homeowners who want a clean, low-stress yard year-round.
Key takeaways for homeowners
Retaining wall drainage is not complicated, but it is precise. When the details are right, the wall is far less likely to bulge, lean, or fail.
Remember these fundamentals:
- Gravel backfill for retaining wall performance is about reducing pressure and moving water.
- A perforated drain pipe behind a retaining wall needs slope and a real outlet.
- Weep holes can help, but they are not the whole system.
- Outlets and discharge planning are where most DIY walls fall short.
Conclusion: build the drainage first, and the wall will follow
If you are planning a retaining wall in Kingston or anywhere in East Tennessee, drainage should be your first design conversation, not the last. The wall face is what you see, but the gravel, pipe, and outlets are what keep the structure stable when our weather turns wet.
If you want a second set of eyes on your plan, or you are ready for a professional install that prioritizes long-term performance, we are here to help. Learn more about our Hardscaping services, or explore how we support complete outdoor projects through Landscaping. For homeowners nearby, we proudly serve Roane County and the surrounding communities.


