

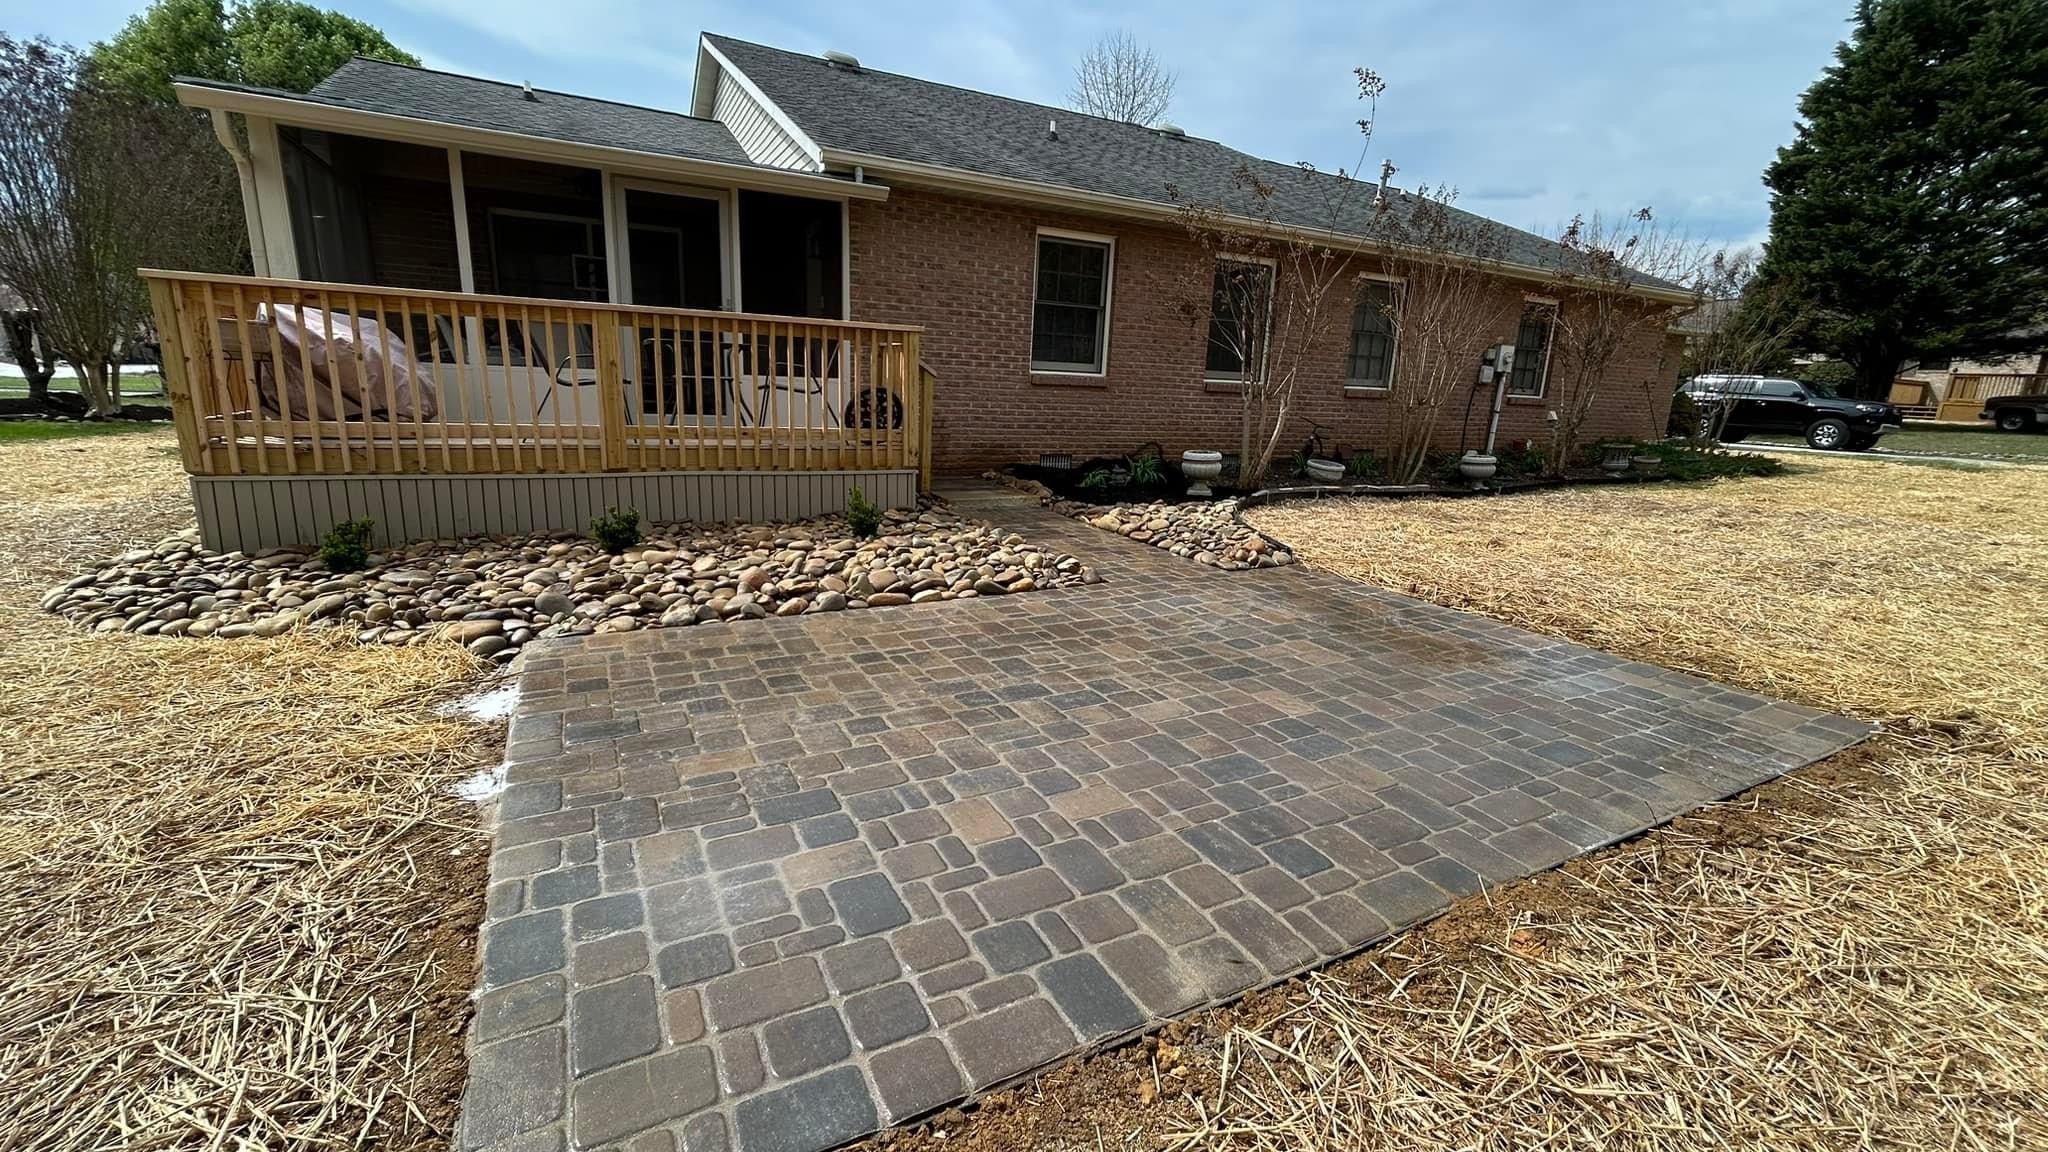
If you are ready to invest in a new outdoor living space, you probably have three practical questions before you sign anything: How long will it take, will I need approvals, and what do I need to do before the crew shows up?
We install patios across East Tennessee from our home base in Kingston, and we have found that the best projects start with clear expectations. A patio is not just pavers or concrete, it is excavation, base prep, drainage planning, and careful finishing that has to hold up to our heavy rains and freeze-thaw swings.
In this guide to patio installation in Lenoir City, we will walk you through a realistic patio install timeline, what can move your start date, common permit triggers (including the big question, do you need a permit for a patio in Tennessee), and a simple site prep for patio checklist so installation day is smooth.
Patio install timeline in Lenoir City: what “normal” looks like
Here is the timeline we typically use to help homeowners plan.
Phase 1: Planning, measurements, and quote (about 3 to 10 days)
For decision-stage homeowners, this phase is where you get the clearest picture of cost, schedule, and what is included.
What we do:
- Site visit to measure, check access, and note grade and drainage patterns
- Discuss how you will use the space (dining, fire feature, hot tub, walkway connections)
- Identify constraints like downspouts, easements, septic fields, tree roots, and property lines
- Provide options for materials (pavers, concrete, natural stone, gravel with edging)
What can speed this up: having a clear budget range and a few inspiration photos. If you are still choosing layout and shade strategies, our related post on Lenoir City Patio Design: Shade, Drainage, Seating Tips can help you finalize decisions faster.
Phase 2: Permits or approvals (if needed, about 1 to 6 weeks)
Some patios move straight to scheduling. Others need a permit review, HOA approval, or both. We cover the most common triggers later in this post.
The key planning tip: if your project might involve a retaining wall, significant grading, or a roofed structure, build extra time into the schedule for approvals.
Phase 3: Scheduling and material ordering (about 1 to 4 weeks)
Even when we can start quickly, hardscape materials can create the longest lead times.
In East Tennessee, scheduling is most impacted by:
- Specialty paver colors and matching caps or coping
- Steps, wall block, or veneer selections
- Drainage components (catch basins, channel drains, pipe)
- Delivery logistics for tight backyards
If you are choosing permeable systems for better drainage, note that those materials and base specifications can differ. Our post Permeable Pavers in Knoxville: Pros, Cons, Costs gives a good overview of how those systems are built and maintained.
Phase 4: On-site installation (most patios take 2 to 7 working days)
For many Lenoir City homes, a straightforward paver patio lands in the 3 to 5 day range once we start. Larger patios, complex patterns, multiple elevations, or added features extend the schedule.
- Layout and protection: mark the footprint, protect nearby surfaces, and confirm elevations
- Excavation: remove sod and soil to the required depth
- Base build: install and compact stone base in lifts, then set bedding layer (varies by system)
- Edge restraint: critical for keeping pavers from spreading over time
- Install surface: place pavers or pour/finish concrete
- Jointing and compaction: polymeric sand for pavers (when appropriate) and final compaction
- Final grading and cleanup: tie in edges, address transitions, and restore disturbed areas
In our climate, the base is the project. A patio that looks great on day one can still fail if the base is thin, poorly compacted, or built without drainage in mind. If you want to understand the “why” behind the specs, read Paver Patio Base in East TN: Depth, Stone & Compaction Tips.
Phase 5: Final walkthrough and cure times (1 to 3 days, plus curing)
Pavers are generally usable right away after final compaction and cleanup, although we still recommend a gentle first week, especially if you have polymeric sand joints.
Concrete needs curing time. You can usually walk on it within a day or two, but heavy furniture, grills, and vehicles should wait longer based on mix, thickness, and weather conditions.
What affects scheduling in East Tennessee (and how to avoid delays)
When homeowners search “paver patio contractor near me,” they are often comparing price. For timelines, the bigger differentiator is how well the project is scoped up front. In Lenoir City and the surrounding area, these are the most common schedule movers.
Weather and soil moisture
East Tennessee weather can change fast. A week of storms can pause excavation and base compaction. Working wet clay is a recipe for settlement later, so we would rather delay a day than lock in a base that will move.
How you can plan:
- If your yard stays soggy after rain, tell us early so we can plan drainage or staging
- Avoid scheduling a major event the weekend immediately after installation
If drainage is part of your plan, our post Catch Basin vs Trench Drain: Outdoor Drainage 101 for East Tennessee can help you understand which solutions fit patios and pool areas.
Access constraints and protection needs
Tight gates, steep side yards, and septic components can slow production because we have to use smaller equipment and hand-carry materials.
Common Lenoir City scenarios:
- Fenced backyards in established neighborhoods with limited access
- Downhill lots toward the lake where controlling runoff matters
- Mature trees where we need to protect roots and keep grade changes minimal
Scope changes after the quote
The fastest way to stretch a patio install timeline is adding features mid-project. We can often accommodate changes, but it may require new materials, revised elevations, or additional labor.
Typical add-ons that change schedule:
- Adding a sitting wall or retaining wall
- Adding steps due to grade changes
- Extending the footprint to meet a grill pad or walkway
- Switching paver style or pattern after ordering
If you think you will eventually add a fire feature, it is smart to plan for it now so the patio footprint, seating clearances, and base prep are correct. Our post Fire Pit vs Outdoor Fireplace: Choosing the Right Outdoor Fire Feature for Tennessee Yards outlines space planning and practical tradeoffs.
Utility coordination and locates
Any digging should start with utility locates. If private utilities are involved (like a gas line to a grill, irrigation, or a septic line), we want those identified before excavation.
Our advice: if you have an irrigation system, landscape lighting, or a septic tank, mention it during the estimate so we can plan around it.
Do you need a permit for a patio in Tennessee? Common triggers in Lenoir City
Permit requirements are local, and they can vary by city, county, and even neighborhood covenants. We cannot promise what your specific property will require without checking the local authority, but we can tell you what typically triggers a permit or additional review.
When a patio often does not need a building permit
Many ground-level patios that are not roofed and do not change drainage significantly can fall outside of building permit requirements.
Examples that are often simpler:
- A basic paver patio in the backyard, away from easements
- Replacing an existing patio in the same footprint
- A small concrete slab used as a grill pad
Even when a permit is not required, setbacks, easements, and HOA rules can still apply.
Common permit triggers and “please check first” situations
In our experience, these are the situations where we advise homeowners to confirm requirements early:
- Attached structures
- Patio covers, pergolas attached to the house, screened enclosures, or any roofed structure often trigger permits.
- Electrical, gas, or plumbing
- Adding outlets, lighting circuits, a gas line for an outdoor kitchen, or plumbing for a sink generally requires permits and inspections.
- Significant grading or drainage changes
- If the project changes how stormwater flows, especially near property lines, it may require review.
- Retaining walls or steep slopes
- Walls can have separate requirements based on height, location, and surcharge loads (like driveways). If your patio needs a wall to create a level area, plan for extra design and possible engineering.
- Proximity to easements, septic, or waterways
- Utility easements, drainage easements, and septic fields can restrict where you build.
HOA approvals are a separate timeline
Even when the city does not require a permit, HOAs often require an application, drawings, and a review window. If you live in an HOA neighborhood in Lenoir City, we recommend requesting the architectural guidelines before you finalize materials.
Our practical approach to permits
We build timelines with a “permit buffer” when triggers are present. If you are unsure, we would rather spend 15 minutes identifying the likely path than have you sign a contract and then hit a surprise delay.
If your project extends beyond Lenoir City, we also work throughout the region, including Lenoir City, Loudon, Knoxville, Oak Ridge, and Roane County.
Hardscape installation process: what happens on your property each day
Homeowners feel most comfortable when they know what to expect. Here is what our day-to-day process typically looks like for a paver patio, with notes for concrete and natural stone.
Day 1: Layout, elevations, and demolition
We confirm the patio footprint and mark final elevations. This is also when we identify any surprises under the sod, like shallow rock, old construction debris, or soft spots.
What you will see:
- Paint marks and string lines
- Equipment access planning
- Sod and soil removal
Days 2 to 3: Base, compaction, and drainage details
This is the most important part of the job for long-term performance.
What we focus on:
- Excavation depth that matches the patio system and expected loads
- Proper stone selection and lift-by-lift compaction
- Slope away from the home for drainage
- Drainage tie-ins if needed (downspouts, area drains)
In East Tennessee clay, we often pay extra attention to keeping fines out of the base and maintaining consistent compaction. That is how you avoid low spots and shifting after the first winter.
Days 3 to 5: Setting pavers or placing concrete
For pavers:
- Bedding layer is screeded to a consistent thickness
- Pavers are installed with tight lines and appropriate cuts
- Edge restraint is installed before final compaction
For concrete:
- Forms are set and reinforced as specified
- Concrete is placed, finished, and protected
- Control joints are planned to manage cracking
Final day: Jointing, compaction, cleanup, and walkthrough
For pavers, joint sand selection matters. Polymeric sand can reduce washout and weeds, but it has to be installed under the right moisture conditions and cleaned properly to avoid haze.
We finish with:
- Final compaction
- Jointing, cleanup, and rinse
- Transition work to lawn, mulch, or adjoining walkways
- A walkthrough so you know how to care for the patio
If sealing is on your mind, it is worth understanding timing and realistic benefits in our humid summers. Our post Paver Sealing in East Tennessee: Do You Need It (Really)? covers what we see in the field.
Site prep for patio: how to prepare your property for installation day
Most homeowners do not need to do much, but a little preparation can prevent delays and protect your belongings.
The week before: simple prep that saves time
Use this checklist as your site prep for patio plan:
- Mark what stays: flag plants, sprinkler heads, or landscape features you want protected
- Clear access: unlock gates, move planters, and create a clear path to the work area
- Relocate vehicles and trailers: keep the driveway open if materials are being delivered
- Pick a staging area: we will need space for pallets of pavers, stone, and equipment
- Secure pets: excavation and open base areas are not safe for pets
- Talk to neighbors: a quick heads up about noise and deliveries goes a long way
The day before: protect the little things
- Move outdoor furniture, grills, and decor away from the work zone
- If you have a low-hanging service line or delicate fence section, point it out
- Confirm any gate codes or special access instructions
What we handle
As your contractor, we handle the technical prep that affects performance, including:
- Layout and elevation control
- Base depth and compaction standards
- Drainage slope and water management
- Edge restraint and structural details
This is also where choosing an experienced Hardscaping team matters. A patio is only as good as what is under it.
Patio quote checklist: what to confirm before you hire a contractor
If you are comparing bids from a paver patio contractor near me, use this patio quote checklist to make sure you are comparing the same scope.
Scope and specifications
- Exact patio size and shape (square footage)
- Material brand or product line, color, and pattern
- Base depth and base material type
- Edge restraint type and where it will be installed
- Joint sand type (polymeric vs standard) and why
- Drainage plan (slope, drains, downspout tie-ins)
Site conditions and allowances
- Excavation and disposal included or excluded
- How unforeseen conditions are handled (rock, soft soil, buried debris)
- Access limitations and any additional labor assumptions
Warranty and maintenance
- Workmanship warranty details
- Expected maintenance (joint sand touch-ups, cleaning, sealing timing)
- What can void warranty (pressure washing too close, de-icing salts, improper drainage changes)
Communication and scheduling
- Estimated start date and duration
- How weather delays are communicated
- Who your point of contact is during the project
We also recommend confirming who is responsible for restoring disturbed lawn areas. Depending on season and preference, that might mean topsoil and seed, sod, or a clean edge with mulch. If you want help beyond the patio itself, our Landscaping and Property Maintenance teams can keep the whole outdoor space looking finished.
Next steps: how to get from “ready” to installed
Here is the simplest next-step plan we recommend:
- Decide how you want to use the space (dining, lounging, fire feature, outdoor kitchen)
- Gather a few inspiration photos and a rough budget range
- Identify potential constraints (HOA, septic, drainage issues, tight access)
- Schedule an on-site estimate so we can confirm grade, drainage, and base requirements
- If permits or HOA approvals apply, start them immediately after you choose a final design
Conclusion
If you are ready to hire a contractor, we can help you clarify the scope, confirm likely permit triggers, and prepare your property so installation day is smooth. Learn more about our Hardscaping work and how we build patios for long-term performance in Lenoir City and beyond.


